3DMOLDMAKER

Design with intent

Shape clearer molds with 3d mold design software

3d mold design software helps turn a rough product idea into a mold-ready visual direction. Start with the object, define how it should separate, then refine the form before committing to a build.

Review every output
Industrial 3D mold design scene with a sculptural form and separated mold parts

Start with the right prerequisites

A strong result begins with a brief that describes the object, the casting material, and the way the mold should open.

  1. 1

    Define the master

    Name the object, its overall proportions, important surface details, and which areas must remain visually clean.

  2. 2

    Set the mold logic

    Explain the intended parting direction, number of sections, access for filling, and any alignment or release concerns.

  3. 3

    Review the concept

    Inspect the generated form for undercuts, trapped geometry, thin walls, and areas that need a human design decision before fabrication.

Follow one full run-through

The same sequence works for a small casting project, a product prototype, or a reusable mold concept that needs clear visual communication.

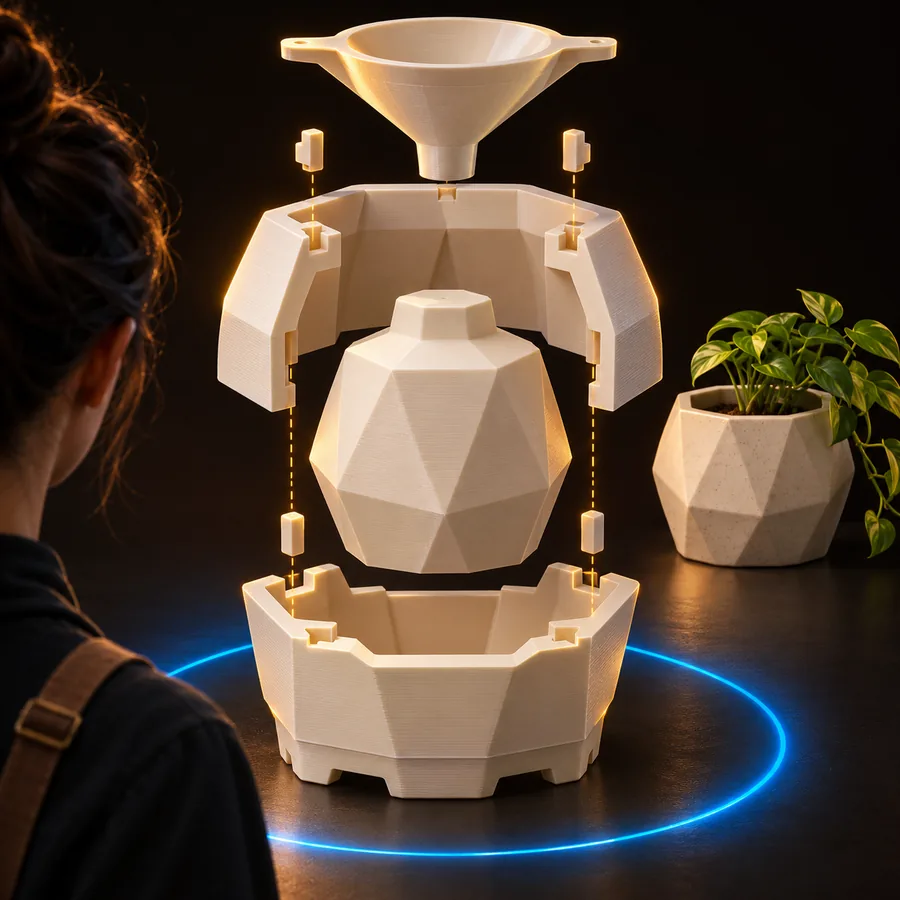
Product designer

You have a rounded enclosure and need to explore a split that keeps the visible front surface clean.

The design brief makes the parting decision explicit, so alternatives are easier to compare before detailed modeling.

3d silicone mold maker
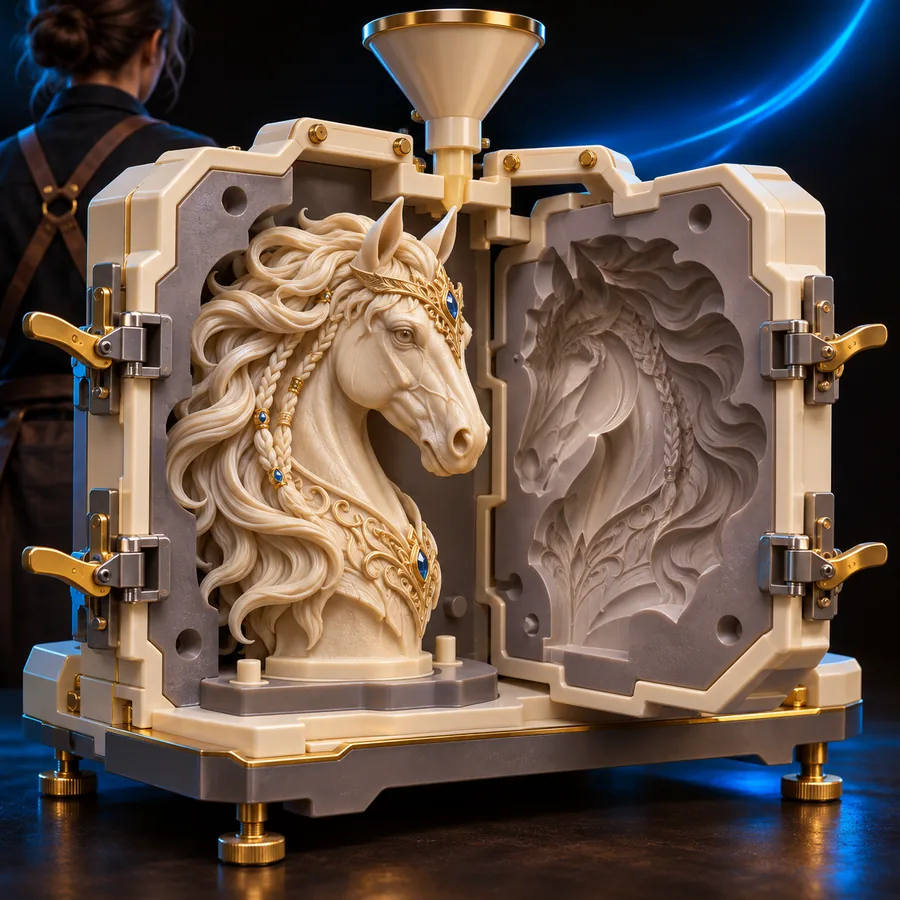
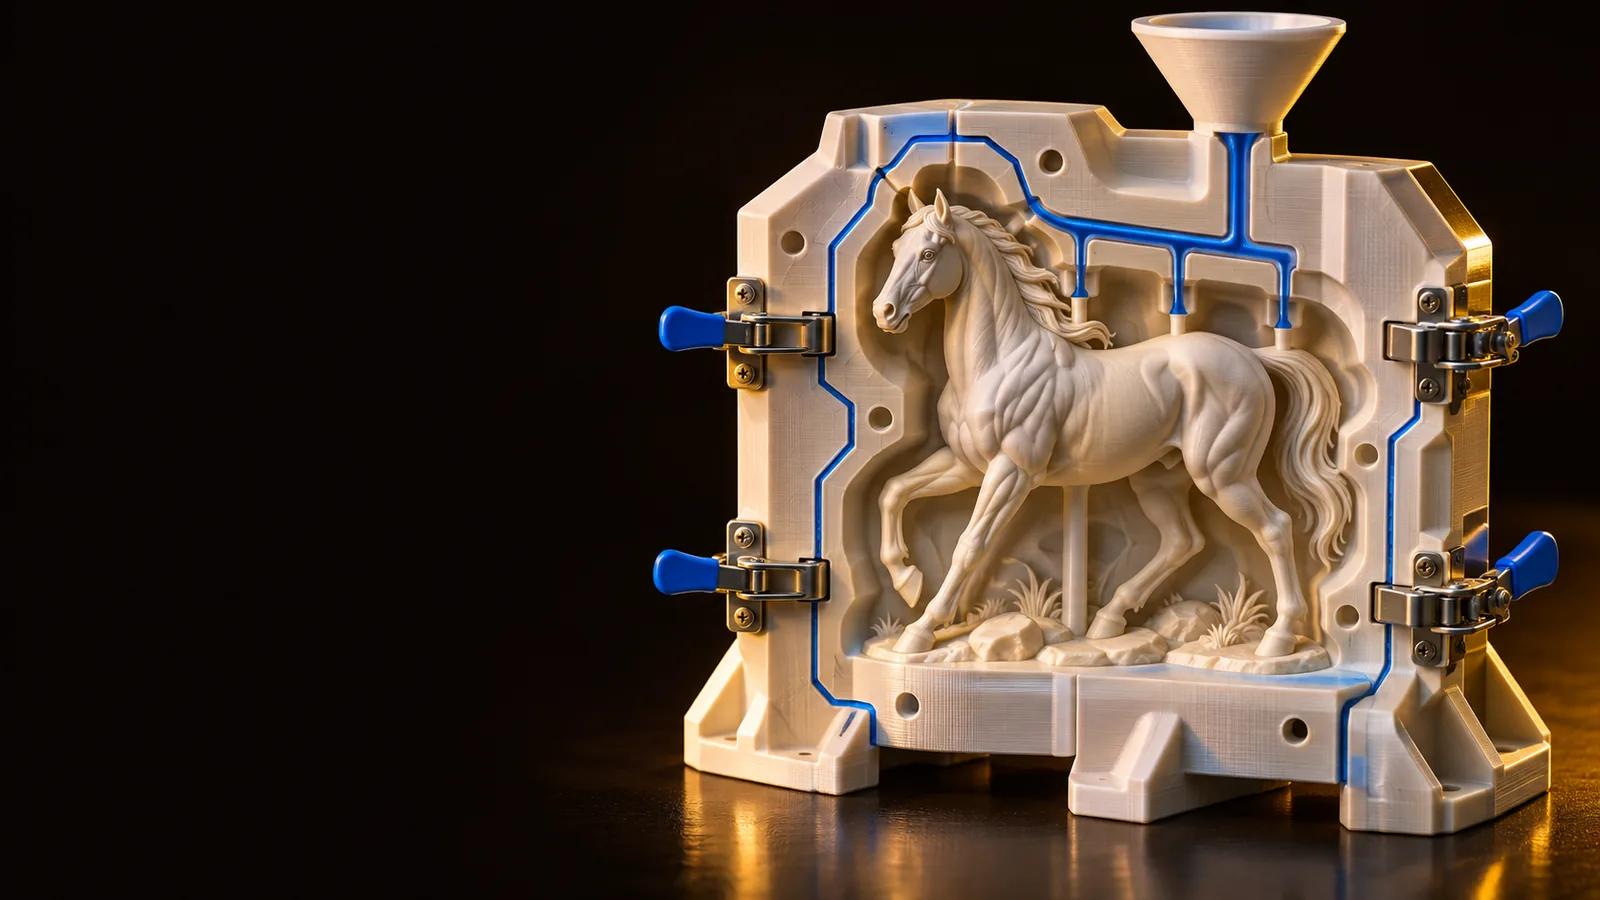
Maker or sculptor

You want a repeatable mold around a hand-built figure without losing the main contours of the original.

A visual mold concept exposes likely release problems and gives the next modeling pass a focused starting point.

3d silicone mold maker

Prototype engineer

You need to communicate a multi-section mold idea to a colleague before choosing a fabrication method.

The separated components and intended workflow make review more concrete than a single finished object.

3d silicone mold maker

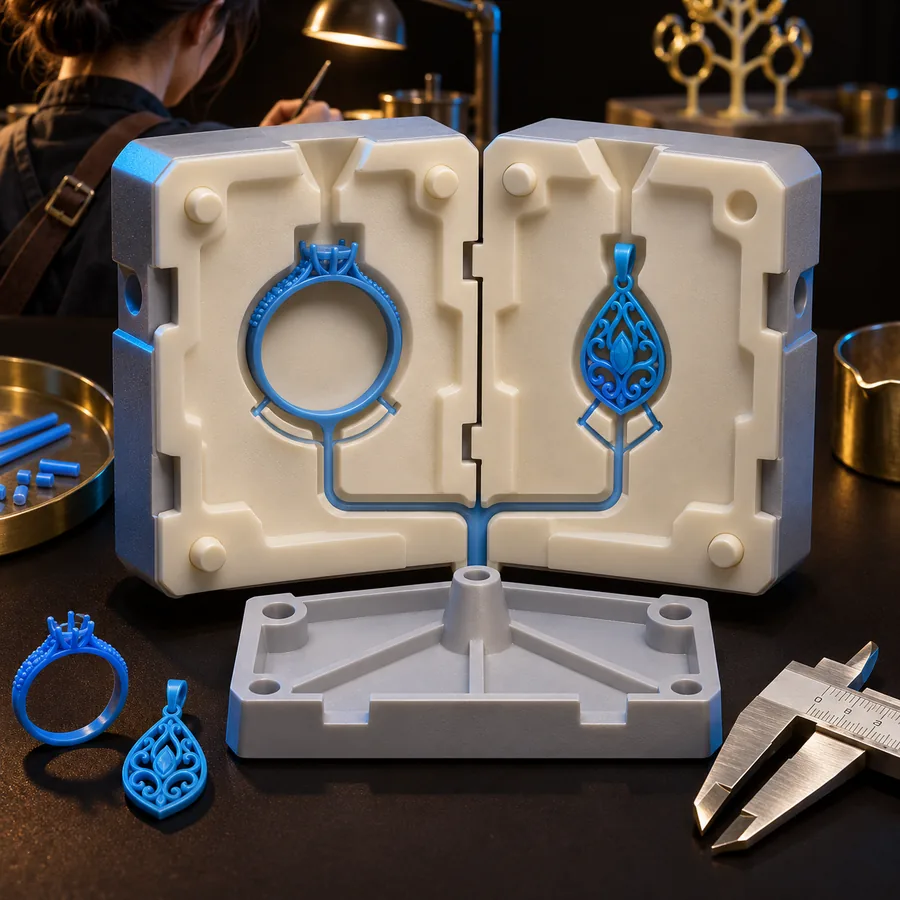
Jewelry designer

You are testing a small ornamental form where fine relief and a reliable opening direction both matter.

The prompt can prioritize relief preservation, clean separation, and a practical inspection view.

3d silicone mold maker

Compare options before you commit

Different audiences ask for different outputs from a mold design workflow. Use the same core brief, but change the emphasis to match the decision in front of you.

For early form exploration

Use a concept-first brief when the shape is still changing. Describe the object and ask for a readable mold split rather than pretending the first result is production-ready.

  • Prioritize silhouette and access
  • Ask for separated views
  • Keep dimensions approximate

For review with a team

A prototype brief should make assumptions visible. Call out the opening direction, section count, alignment features, and the surfaces that must stay intact during evaluation.

  • Name the critical faces
  • State the intended parting direction
  • Request a clear assembly view

For material-aware planning

When the casting material affects release, filling, or flexibility, include that context in the prompt. The result is still a design concept, but it can surface better questions for the next technical pass.

  • Mention the casting material
  • Flag undercuts and narrow channels
  • Separate visual decisions from fabrication checks

Know what fails first

Mold concepts become less useful when the brief hides the practical constraints. These checkpoints keep the review grounded without confusing a visual proposal with final engineering.

1 Object, material, and opening direction stated
01 brief
2 Closed form and separated mold reviewed
02 views
3 Undercuts, thin walls, and access questioned
03 checks
  • Separated mold halves around a sculptural object Assembly 1
    prompt A pale sculptural form in a clean two-part mold, separated halves, visible parting line, alignment keys, studio product view.
    Mold concept Two-part assembly
  • Blue sectional mold around a rounded channel form Sectioning 2
    prompt A blue sectional mold around a balanced channel-shaped object, open sections, readable cavity, precise industrial visualization.
    Sectional mold Open cavity view
  • Green reusable casting box with a detailed insert Workflow 3
    prompt A bright green reusable casting box holding a detailed insert, clean walls, removable master, practical workshop visualization.
    Casting box Reusable concept

Adapt each prompt by changing the object, material, opening direction, and surfaces that must remain free of seams.

Turn a mold idea into a clearer next step

Describe the object and the way you want it to open, then use the result as a focused visual reference for modeling, review, or fabrication planning.

Open design studio
  • Start from a concrete object
  • Call out parting and release concerns
  • Review the result before fabrication

3d mold design software FAQ

Describe the object, its important surface details, the casting material, and how you want the mold to open. Mention parting direction, section count, alignment features, or areas where undercuts may be a concern.

A generated design is best treated as a visual concept and review aid. Final production decisions still require checks for dimensions, tolerances, material behavior, wall thickness, release, and the capabilities of the chosen fabrication process.

State the intended opening direction and identify surfaces that must release cleanly. Then inspect the separated concept for trapped geometry and decide whether the design needs a different split, more sections, or a technical remodeling pass.

Yes, it can help visualize a silicone mold concept, especially when you describe flexibility, access, and the desired parting line. For material-specific guidance, compare the concept with the practical workflow described for a 3d silicone mold maker.

Explore 3D tools
Explore 3D tools