Practical starting point
Build a concept with a free 3d mold maker
A free 3d mold maker workflow works best when you start with a clear object, a realistic mold goal, and one focused iteration. Use the prompt console to describe the form you want to explore, then refine the result with better inputs.
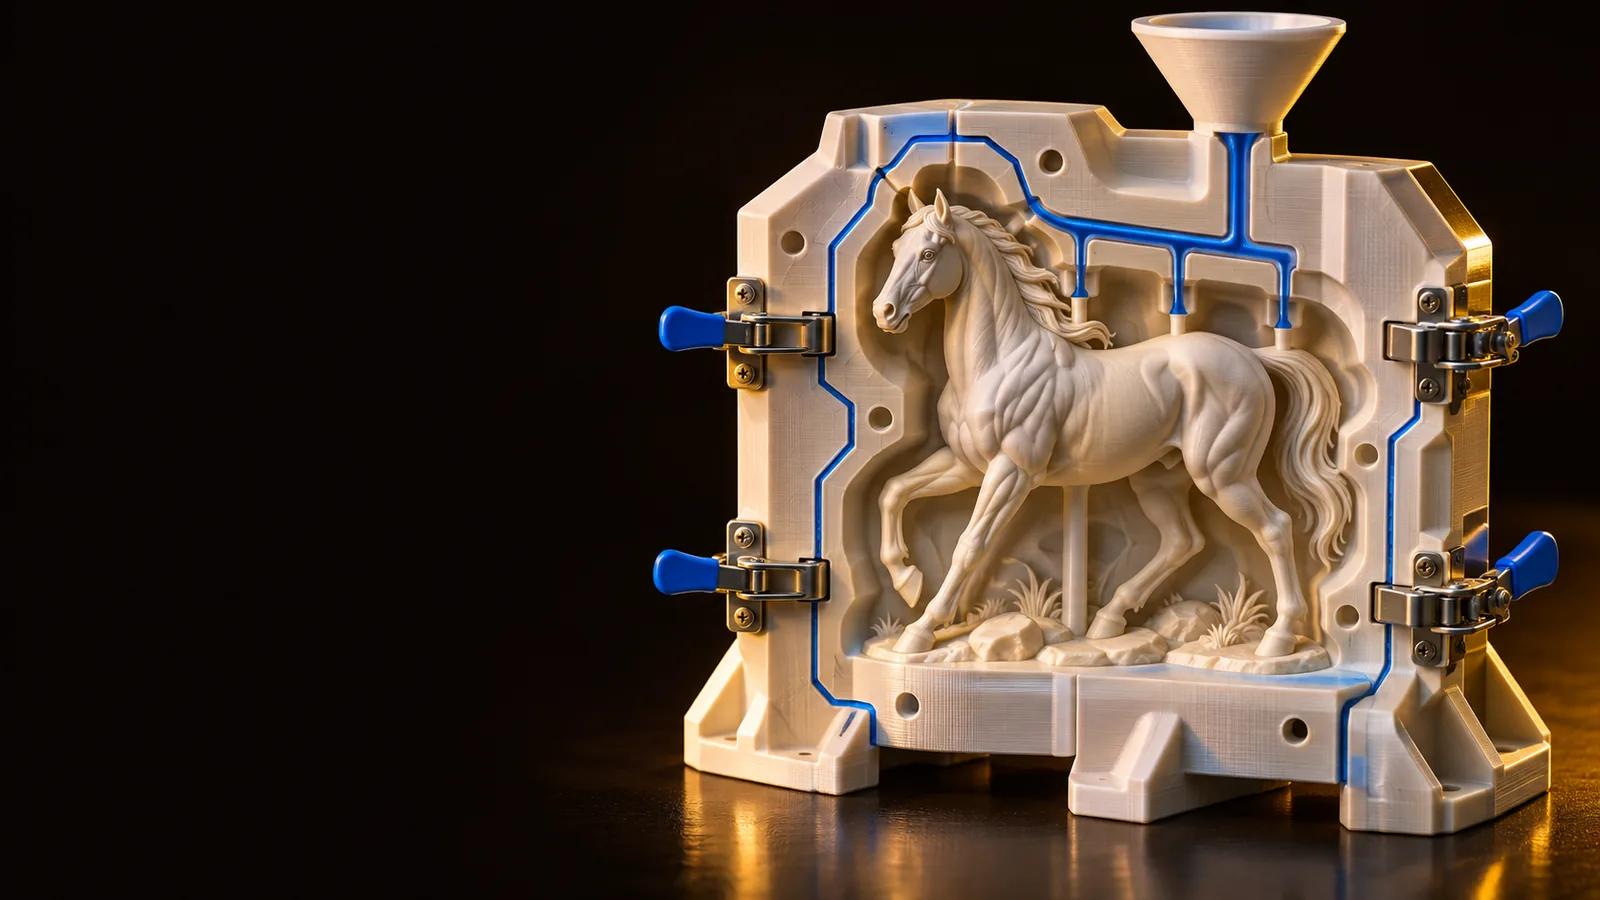
Prerequisites before you begin
A short preparation pass prevents vague prompts and makes the first result easier to judge. Mark each item as required or useful before you begin.
-
A single object or positive form to use as the mold subject
RequiredAvoid combining unrelated objects in the first pass.
-
The intended casting material, such as resin, wax, plaster, or silicone
RequiredMaterial choice affects wall thickness and release needs.
-
Approximate dimensions or a clear size reference
RequiredEven rough proportions are better than leaving scale undefined.
-
A decision about whether the mold should be one-piece or split
RequiredA split mold usually needs a seam and alignment strategy.
-
A reference image, sketch, or written description
OptionalUseful when the form has distinctive proportions or surface details.
-
A plan for vents, pour openings, and part release
OptionalAdd these details when the concept moves toward fabrication.
Related ways to explore
Choose the next route according to how much control you need over the shape, software, or physical workflow.
One full run-through
This example keeps the first pass narrow: define the object, state the mold intent, inspect the result, and only then add detail.
-
1
Describe the positive form
Name the object, its overall geometry, approximate size, and the surfaces that must remain visible in the finished cast.
-
2
State the mold objective
Ask for the mold structure you need, such as a two-part shell with a parting seam, alignment keys, and an accessible pour opening.
-
3
Inspect the first result
Check whether the form can be separated, whether thin areas are likely to fail, and whether the proposed openings make sense for your material.
-
4
Refine one issue at a time
Change only the weakest constraint first: simplify the split, strengthen a wall, improve release, or clarify the opening before another pass.
Choose the right starting option
Start simple, then choose more control
A prompt-first route is useful for exploring a shape, testing a split concept, or communicating an idea before committing to detailed construction. Keep the first request specific enough to judge, but not so crowded that every requirement competes for attention.
A software-led route becomes more appropriate when you need measured dimensions, editable parting surfaces, repeatable revisions, or manufacturing checks. Treat the generated concept as a starting reference, then verify the geometry against your material, tooling, and release process.
There is no single best route for every mold project.
- IDEA FIRST
- CHECK SCALE
- PLAN THE SPLIT
- VERIFY RELEASE
What fails and how to recover
A quick concept is not the same as a production-ready mold. These are the most common points where a first pass needs correction.
-
The form has no clear separation path
A visually attractive shell may trap the positive object or create an impractical seam.
WorkaroundAsk for a specific parting direction and inspect every undercut from that direction.
-
Walls are too thin for the intended use
Thin sections can deform, tear, or lose detail during casting and demolding.
WorkaroundState a minimum wall goal when known, then compare the proposed thickness with the material and handling method.
-
The opening does not support filling or venting
A closed or poorly positioned cavity can trap air and make filling uneven.
WorkaroundRequest a pour opening and vents suited to the orientation of the mold, then review their access.
-
The result is only a visual approximation
A generated concept may not include exact tolerances, shrinkage allowances, or fabrication-ready surfaces.
WorkaroundMove the approved idea into a dedicated design workflow and validate dimensions before making the mold.
Turn one idea into a workable next step
Ready to test your mold concept?
Bring a single object, a material goal, and one structural request. Start with the console, inspect the first concept, and use the result to decide whether you need a simpler prompt or a more controlled design workflow.
Open 3D studio- Describe one object clearly
- Review the split and openings
- Refine the weakest constraint first
Questions about starting a mold workflow
It is useful for exploring a mold concept, communicating a form, and identifying structural questions before detailed design. It should not be treated as automatic proof that a mold is ready to fabricate.
No, a clear written description, sketch, or reference can be enough for an initial concept pass. A finished model or measured reference becomes more important when dimensions and repeatability matter.
State the object, approximate scale, intended casting material, and whether you want a one-piece or split mold. Add one critical requirement such as alignment keys, a pour opening, or a release direction.
The request may leave the parting direction, wall thickness, vents, or undercuts undefined. Narrow the task, describe the missing constraint directly, and inspect the next result against the actual casting process.