Prototype designer
You need to test a small enclosure, handle, or sculptural housing before committing to a final tool.
A mold concept exposes split-line and release problems while the design is still easy to change.
3d mold design softwareFlexible mold workflow
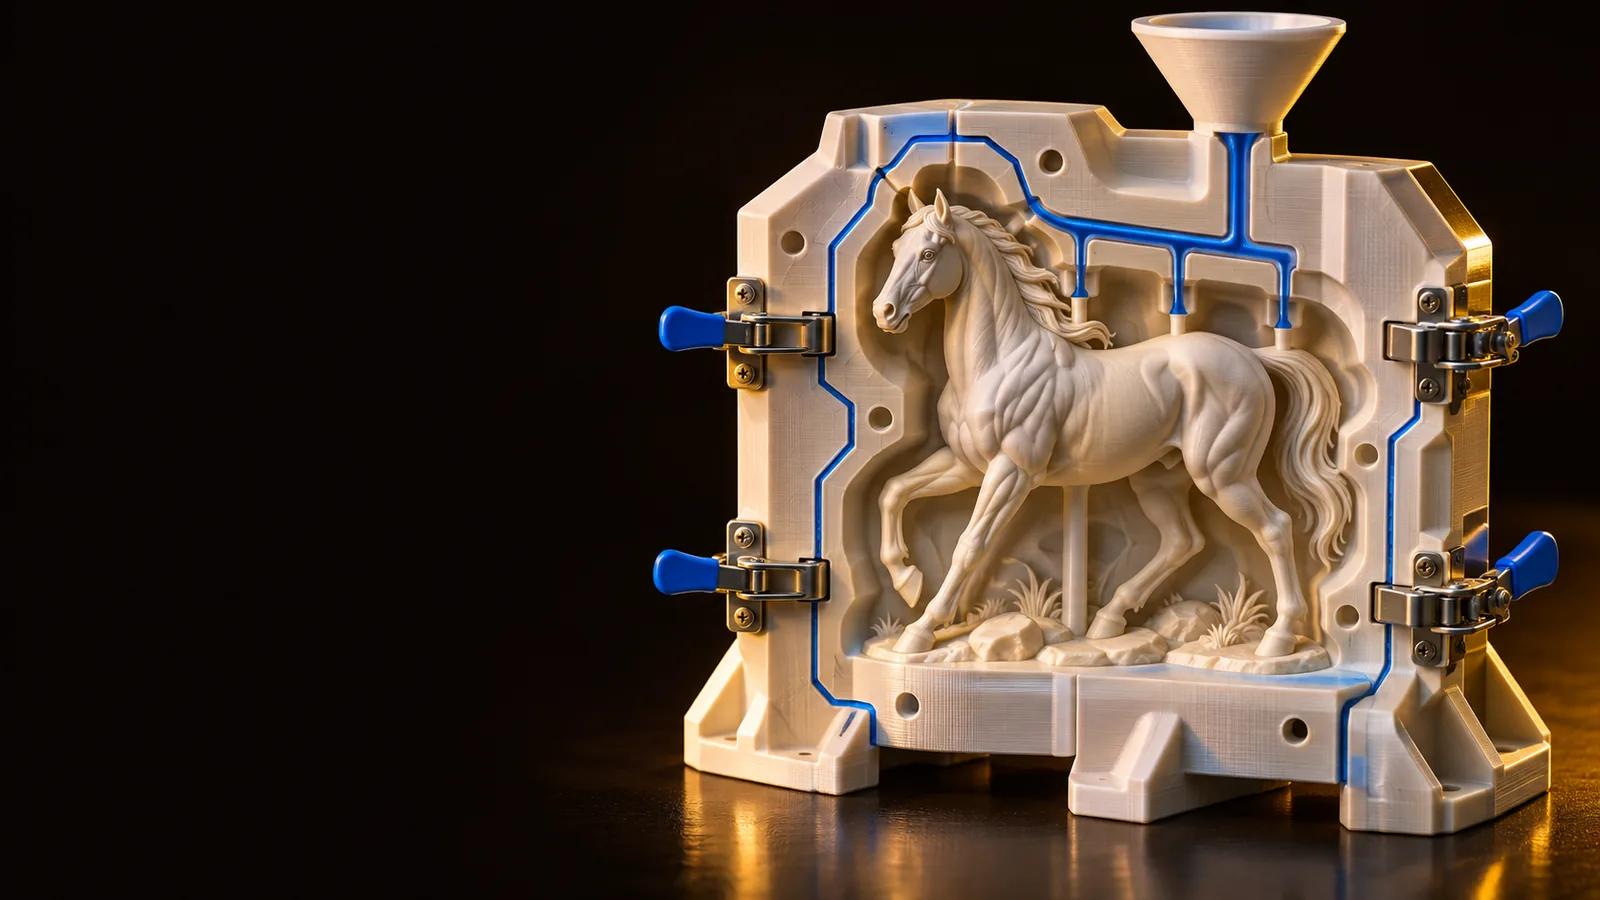
A 3d silicone mold maker helps you think through the object, the mold split, and the casting path before material is mixed. Start with a clear concept and refine the form around how it will release.
Related paths
Choose the planning path that matches your object, material, and level of control.
Core mechanisms
A useful mold concept is more than an attractive shell. It explains how the part is held, opened, and released.
Identify deep recesses, undercuts, thin walls, texture, and any area that could trap a finished cast.
Place a parting line where the mold can open cleanly while keeping seams away from the most visible surfaces.
Allow room for registration, pouring, venting, and controlled flex so the cured silicone can leave the master.
Practical applications
Different makers need the same core decisions presented in different ways. These starting points keep the workflow grounded.
You need to test a small enclosure, handle, or sculptural housing before committing to a final tool.
A mold concept exposes split-line and release problems while the design is still easy to change.
3d mold design softwareYou want to reproduce a figurine, relief, or ornament with soft details and a manageable casting setup.
A clear cavity and opening strategy gives the finished resin piece a better chance of releasing cleanly.
how to make a 3d mold for resinYou are preparing a small master with delicate edges, recessed texture, or repeated decorative details.
The form can be reviewed for fine features, seam placement, and the access needed around a small casting.
3d printed casting molds for jewelryYou need to communicate a mold idea to someone handling printing, silicone, or the final casting operation.
A shared visual reference makes assumptions about halves, keys, vents, and cleanup easier to discuss.
3d mold design softwareChoose the right approach
The best workflow depends on whether you are exploring a form or preparing geometry for fabrication.
Concept-first workflow
Fabrication-first workflow
Concept-first workflow
Explore a moldable shape and casting idea
Fabrication-first workflow
Prepare geometry for a defined manufacturing process
Concept-first workflow
A written description, sketch, or rough reference
Fabrication-first workflow
A measured model with known dimensions
Concept-first workflow
Useful for early placement and discussion
Fabrication-first workflow
Requires detailed inspection and validation
Concept-first workflow
Highlights risk areas for review
Fabrication-first workflow
Needs explicit decisions about inserts, cuts, or flexible release
Concept-first workflow
Can describe the intended silicone and casting context
Fabrication-first workflow
Must follow the actual material, cure, and process specification
Concept-first workflow
A planning aid, not a guarantee of a finished mold
Fabrication-first workflow
Closer to a verified build package when checked by a maker
Concept-first workflow
Needed before printing, machining, or pouring
Fabrication-first workflow
Still needed for tolerances, safety, and release behavior
Workflow views
Use the same mold logic differently depending on whether you are shaping an idea, checking a master, or preparing a handoff.
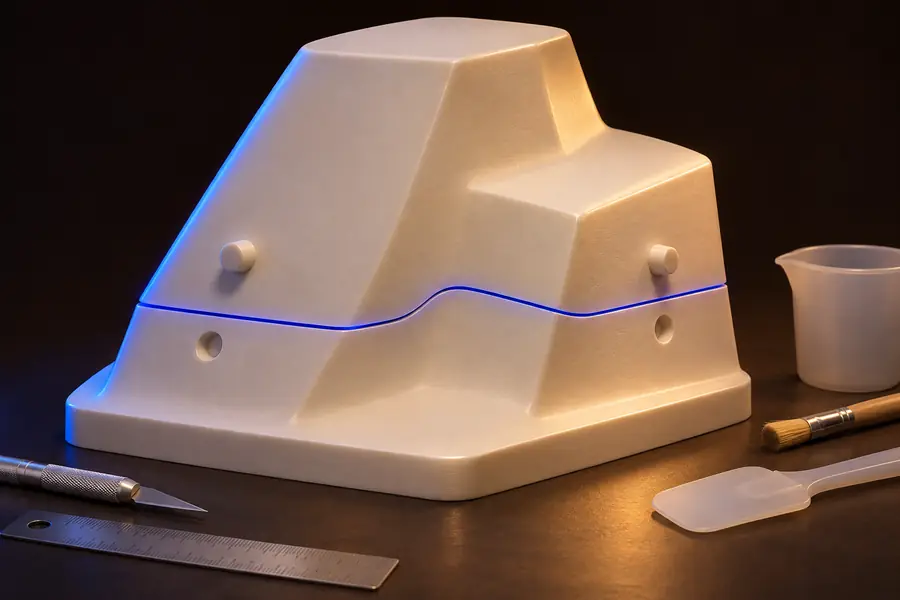
Start by describing the object, its visible surfaces, and the intended casting material. The goal is to find a plausible mold direction before spending time on detailed construction.
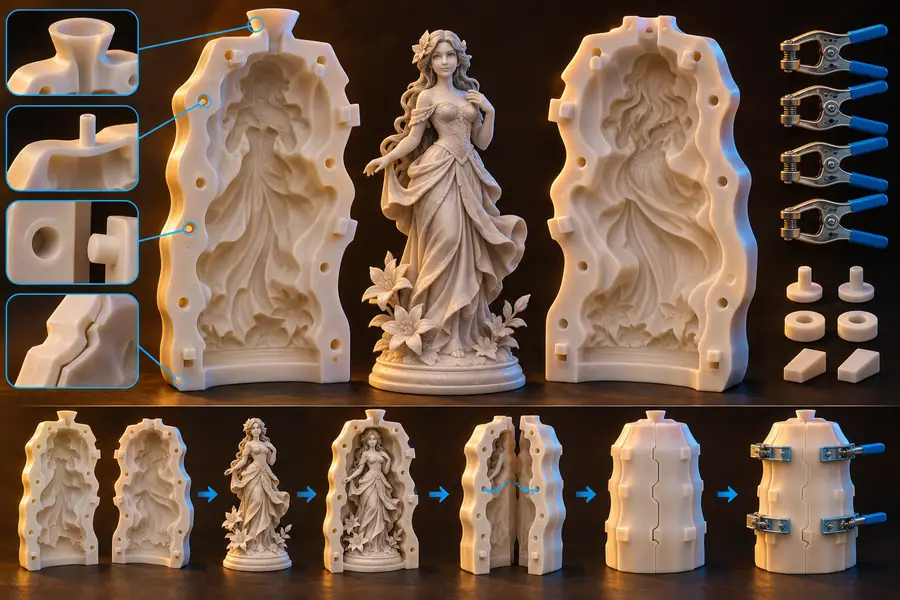
A maker needs more than the outer silhouette. Review the opening direction, registration strategy, pouring access, vents, and the space needed to flex or separate the cured silicone.
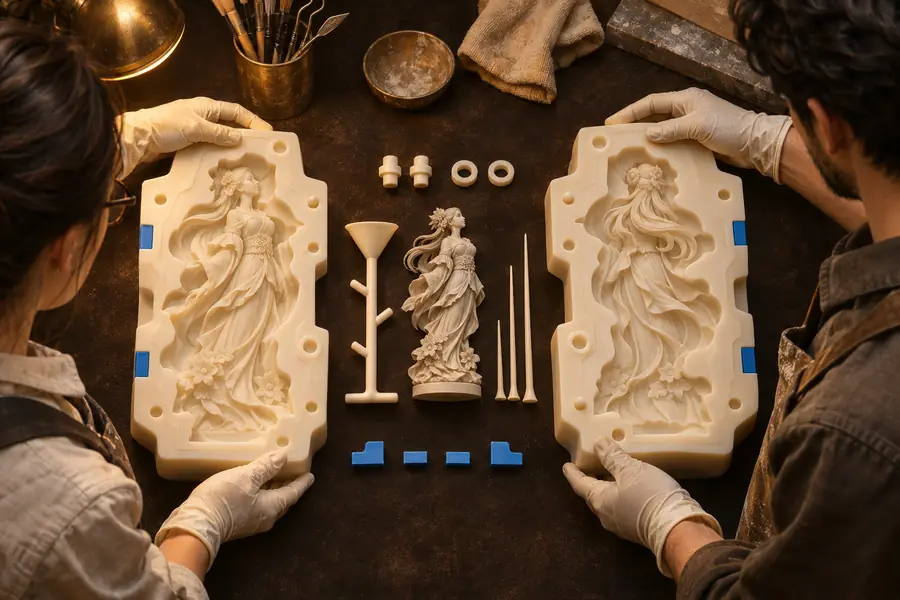
Use a visual mold concept to align the team before fabrication. It gives collaborators a shared reference for the parting line, cavity, casting direction, and expected finish.
Visual checkpoint
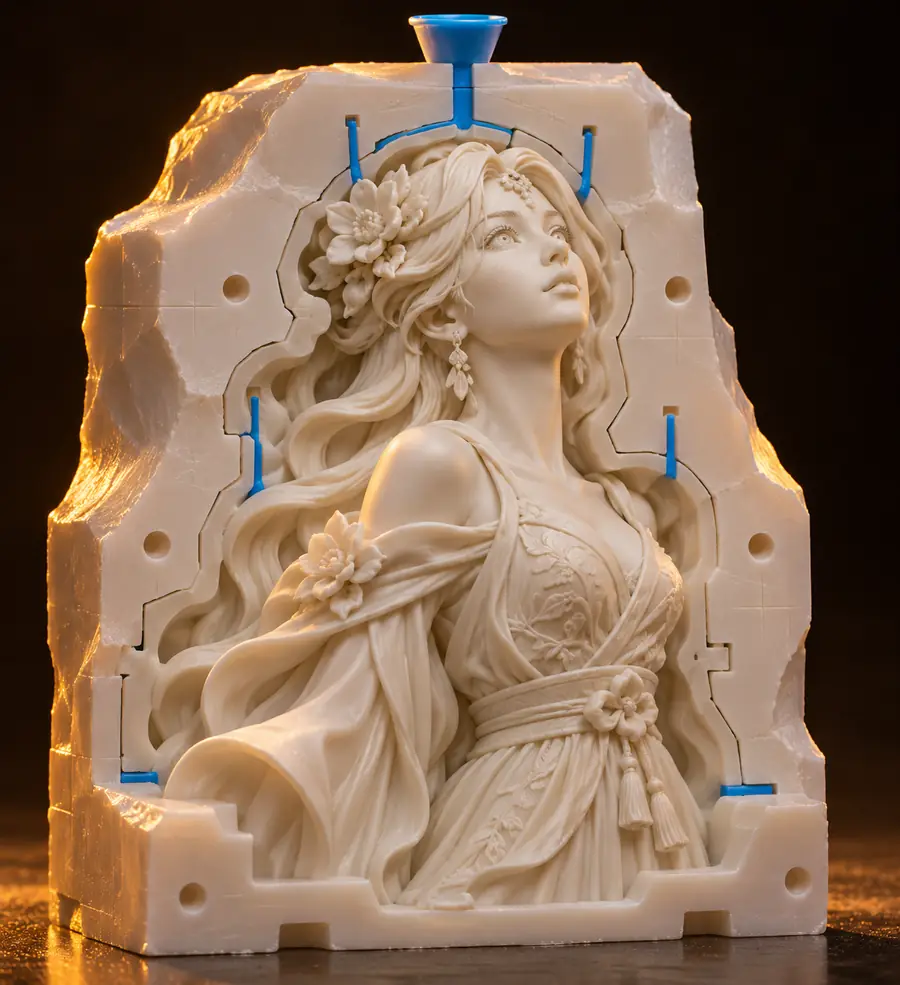
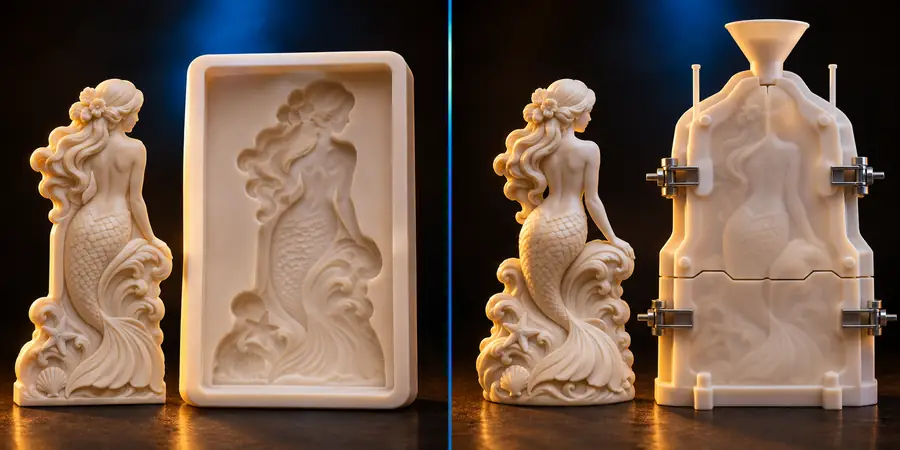
A mold-ready concept makes the relationship between the master, the cavity, and the opening direction easier to inspect.
The visual plan is a decision aid; verify dimensions and material behavior before fabrication.
Review checklist
These are practical checkpoints, not promises of automatic fabrication accuracy.
Next practical move
Describe the object, the silicone or casting context, and the result you want to reproduce. Use the generated direction as a clear starting point, then verify the geometry and process with your own materials and measurements.
Generate mold conceptCommon questions
Answers for choosing a digital mold workflow and understanding where hands-on validation still matters.
It is used to plan or visualize a flexible mold around a digital object or described form. The workflow can help you think through the cavity, parting line, release direction, and casting access before making the physical mold.
A digital tool can help generate a concept or prepare a mold-oriented design, but it does not replace mixing, curing, degassing, and handling silicone. Treat the result as a planning or design aid and verify it against the actual material and workshop process.
Silicone is often chosen for flexible molds because it can capture surface detail and release many forms more easily than a rigid shell. Suitability still depends on the object, undercuts, wall thickness, cure system, casting material, and the number of reproductions required.
First identify where the cured mold would grip the master or trap the casting. You may need a different parting direction, multiple mold sections, inserts, vents, or a revised master; the correct choice depends on the geometry and the desired finish.
Not necessarily for early concept work, especially when the workflow accepts a clear description of the object and casting goal. For fabrication-ready geometry, you still need enough modeling or workshop knowledge to check dimensions, seams, tolerances, and the behavior of the chosen silicone.