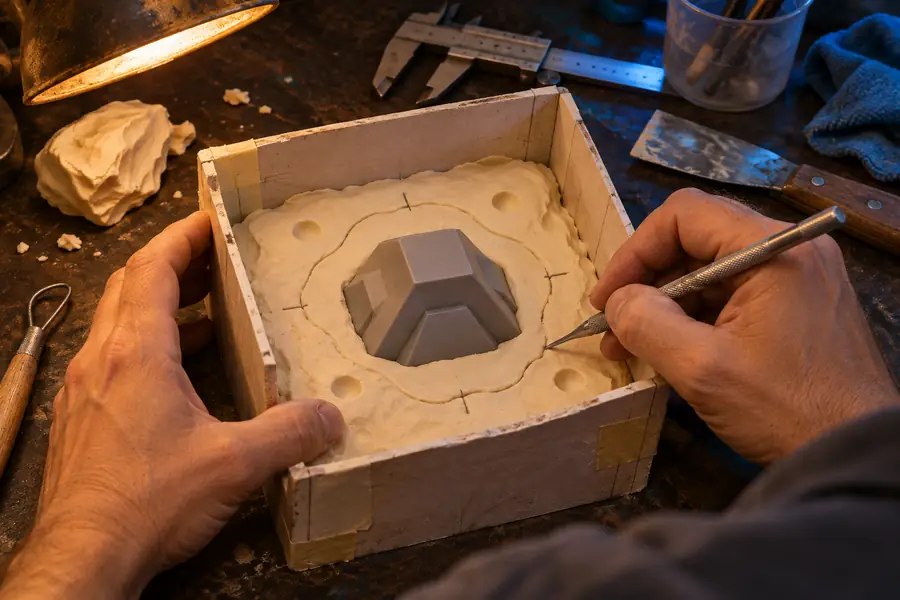
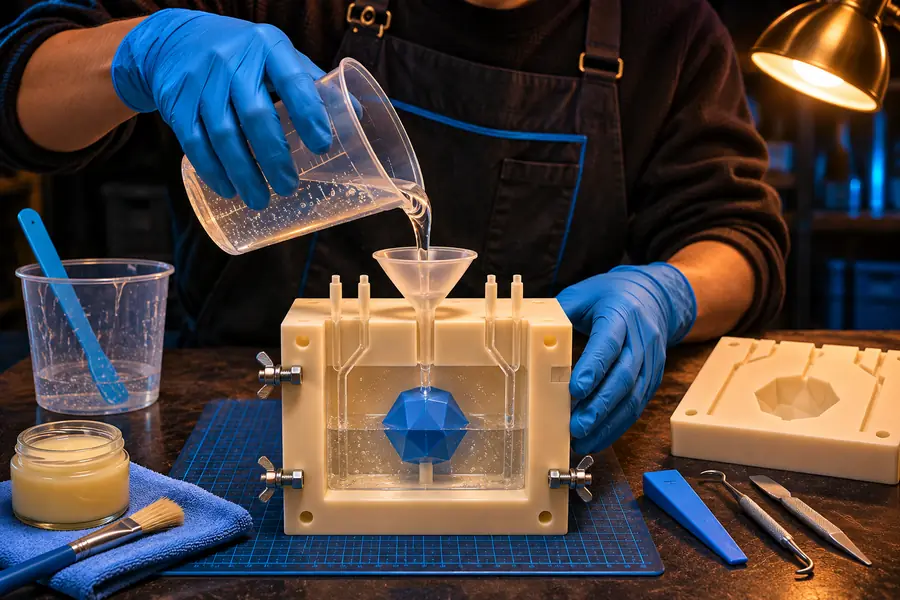
This guide shows how to make a 3d mold for resin from a sculpt or digital model, with practical checks for parting lines, release, curing, and repeatable casts.
Prerequisites
Gather the model, materials, and safety equipment before you begin. A few minutes of preparation prevents most failed casts.
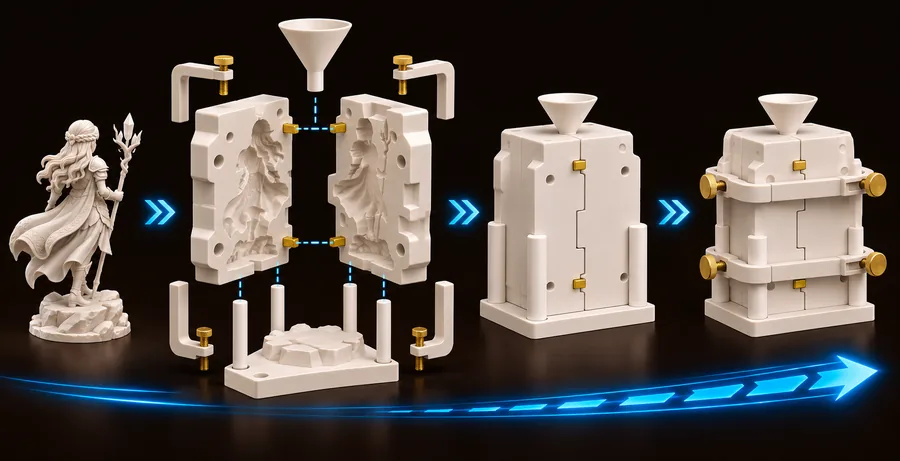
Follow the workflow in order: prepare the positive, build the mold system, then cast and inspect the result.
1
Prepare the master
Clean the model, close holes, soften fragile details, and decide where the mold should separate. Add a slight draft where the cured part must slide free.
2
Build the mold body
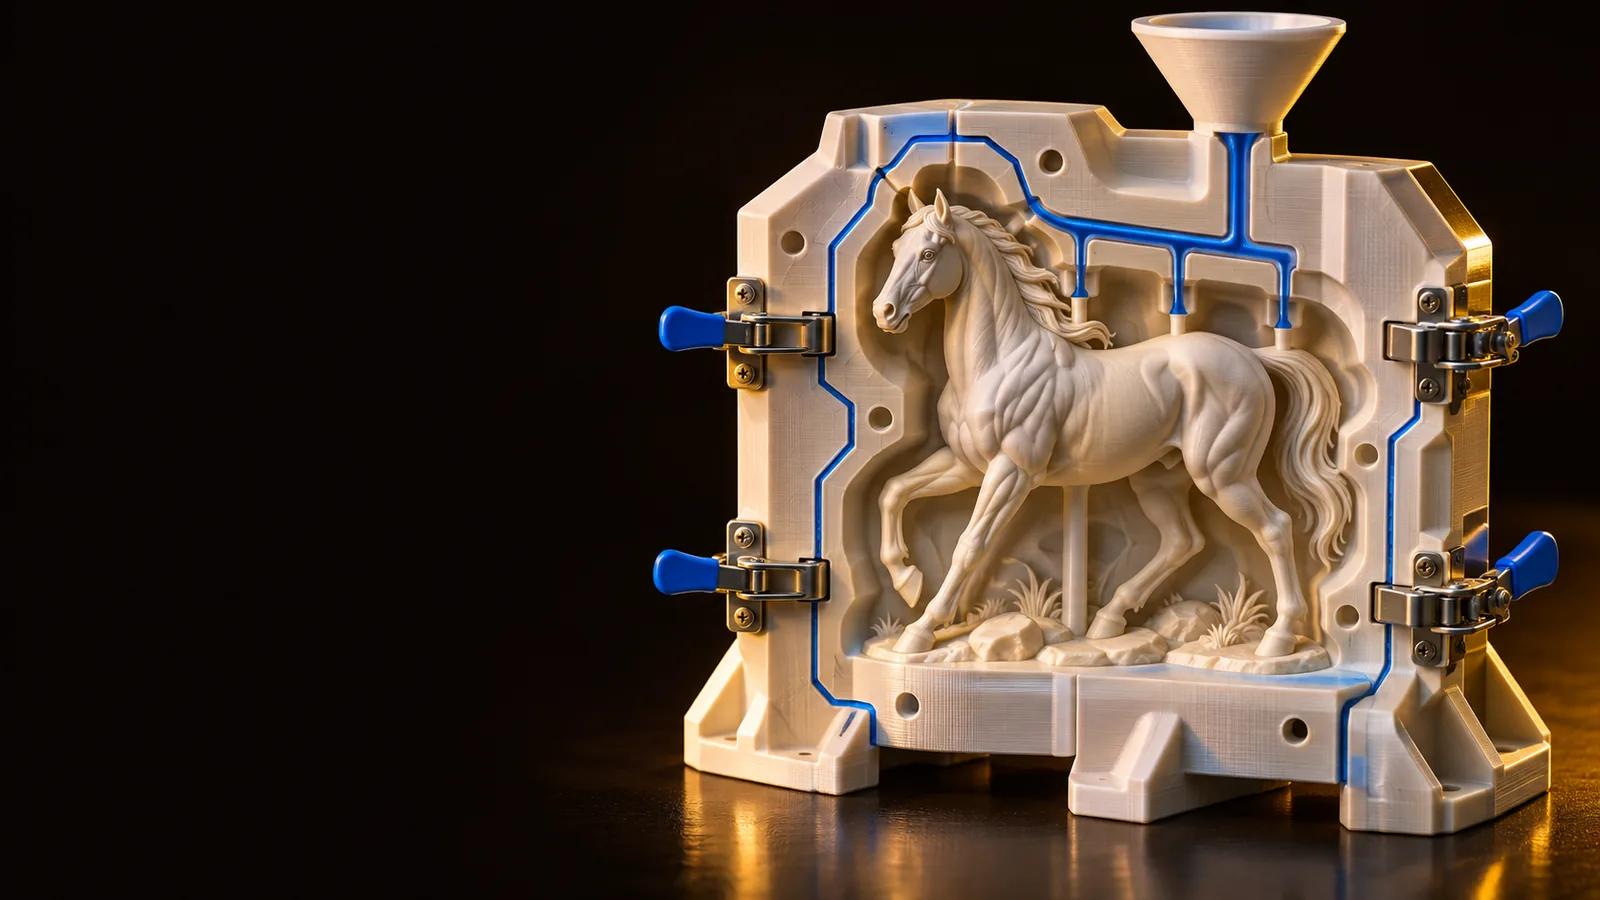
Create a stable box or shell around the master, add registration keys and a pour path, then verify that no undercut traps the finished piece.
3
Cast and release
Mix resin accurately, pour slowly from one point, allow the full cure, and remove the mold without forcing thin walls or delicate features.
Common errors and fixes
Most disappointing resin casts come from geometry, preparation, or process problems rather than from the resin itself.
1
The part locks inside the mold
An undercut or nearly vertical wall may be preventing release. Rework the parting line, split the mold into additional sections, or add draft to the master before making another mold.
CHECK FIRST
Trace the removal path of the cured part before finalizing the mold shell.
2
Resin leaks through the seam
A warped box, weak registration, or uneven clamping can open the split line. Flatten the mating surfaces, strengthen the keys, and use controlled pressure rather than overtightening.
SEAM RULE
The seam should close evenly without crushing the mold material.
3
Bubbles or incomplete details appear
Air can collect in high points, narrow channels, or deep relief. Move the pour opening, add a vent at the trapped high point, and pour in a thin stream so the resin can flow around the detail.
AIR PATH
Every trapped pocket needs a route for air to escape.
Advanced tips
Use this checklist to make the workflow more repeatable when the model has fine detail, thin sections, or a complex silhouette.
Required
Optional
Inspect the master at full scale and close non-manifold gaps before building the mold.
Required
A watertight positive is the foundation of a clean mold.
Choose a parting line that follows the least visible edge and avoids locking details.
Required
The shortest split is not always the easiest split.
Leave space around the model for mold walls, clamps, and safe removal.
Required
Thin walls flex and can distort the cast.
Add registration keys that are rounded and easy to clean.
Required
Sharp keys can tear flexible mold material.
Plan one pour opening and at least one vent for enclosed high points.
Required
The best layout depends on the model orientation.
Use compatible release and seal porous masters before casting.
Required
Test compatibility on a hidden area first.
Keep a small test section for unusual resin, pigment, or mold combinations.
Optional
A test can reveal cure or release problems before a full pour.
Use these companion pages when you need to choose a workflow, compare approaches, or plan a more specialized mold.
How resin mold workflows evolved
The core principles are longstanding, but digital modeling has made it easier to test split lines and iterate before using physical materials.
Plaster and clay mold making
Craft workers shaped reusable forms around a physical master, relying on careful seams, draft, and manual release.
Rubber and elastomer molds
Flexible mold materials made it easier to capture undercuts and reproduce detailed forms for small-batch production.
Computer-designed parting lines
CAD and sculpting tools let makers inspect wall thickness, registration, vents, and removal paths before fabrication.
Printed masters and mold boxes
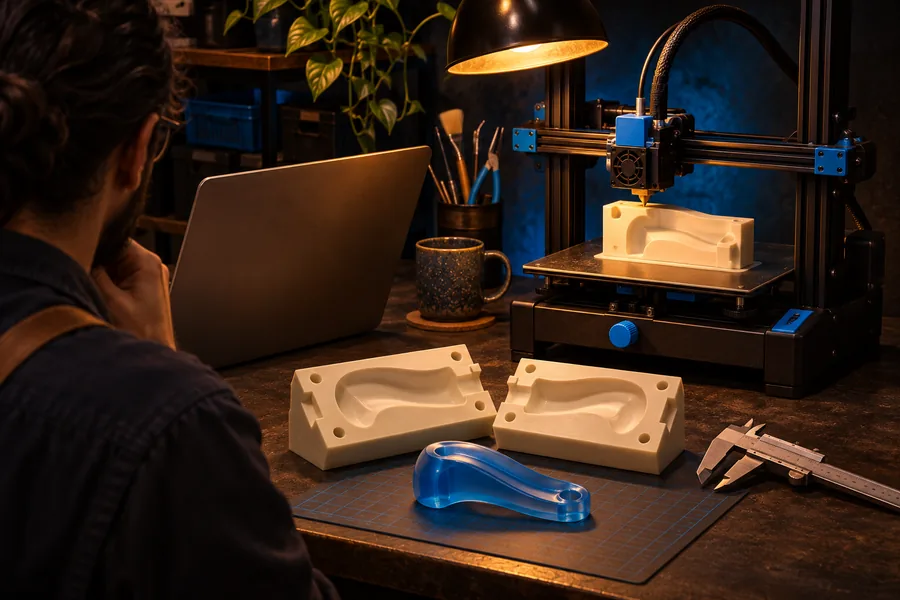
Affordable 3D printing made custom masters and modular mold fixtures practical for hobby, studio, and prototype work.
Prompt-led mold concepts
A 3d mold maker can now help develop a visual starting point quickly, while the maker still checks geometry and casting constraints.
Before and after: a cleaner mold split
Compare a rough first layout with a more deliberate split that gives the part a clearer removal path and a more controlled seam.
Early layout/Refined layout
Early layoutRefined layout
Drag the divider to inspect how parting-line planning changes the mold.
Advanced tips by mold format
Choose the panel closest to your project, then adapt the same preparation, venting, and release checks to the material you are using.
One-part molds for open shapes
Use a one-part mold when the master can lift straight out and the casting has a broad open face. This is the simplest format, but it is not suitable for deep undercuts.
Keep the removal direction obvious.
Place the pour opening at the highest practical point.
Use a level base so the mold stays stable during cure.
Two-part molds for enclosed forms
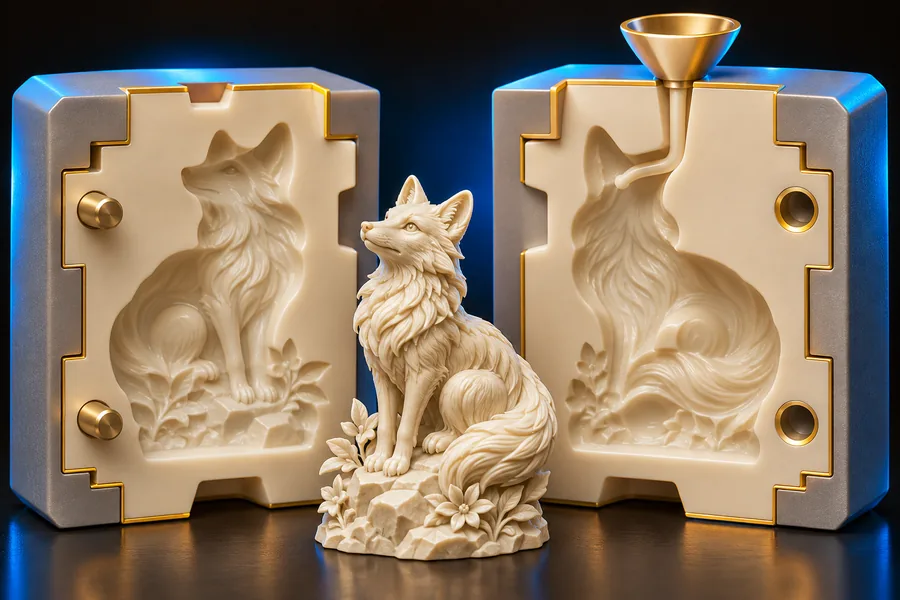
A two-part mold is useful when the casting is enclosed or must be captured from opposite sides. Spend extra time on the split, registration, and seam because these determine whether the mold closes accurately.
Avoid splitting through the most visible detail.
Use rounded registration keys with enough spacing.
Provide a vent where air would otherwise be trapped.
Printed shells for rigid support
A rigid printed shell can support a flexible inner mold or act as a reusable fixture. It is valuable for larger forms, but the shell must be aligned and strong enough to resist deformation during the pour.
Leave clearance for the inner mold and clamps.
Round sharp transitions that could damage the flexible insert.
Check that the shell can open without scraping the mold.
Turn your mold idea into a workable starting point
Describe the object, material, and casting goal in Industrial Studio to explore a 3D mold concept, then use the checks in this guide before making the physical mold.
Treat the generated concept as a design starting point.
Tutorial FAQ
These answers cover the practical questions that usually come up when planning a resin mold from a physical or digital master.
Prepare and seal the master, choose a parting line, build the mold body, and add registration, pour, and vent features. After the mold material cures, apply compatible release, mix the resin accurately, pour slowly, and wait for the full cure before demolding.
Yes, but the printed master should be cleaned, fully cured, and sealed if its surface is porous or layered. Test the release material on a small area because some resin, coating, and mold materials can bond unexpectedly.
Give trapped air a route to escape by improving the model orientation, adding vents, or changing the pour opening. Mix gently, pour in a thin stream, and follow the resin maker's guidance for pressure or vacuum equipment if you use it.
The right material depends on the resin, detail level, flexibility needed, and number of casts. Flexible silicone is often useful for detailed or undercut forms, while a rigid printed or fabricated shell can provide support around a flexible mold.
Choose the line that lets the cured piece leave the mold with the least force while keeping the seam away from important visible detail. Check the complete removal path before committing, because a visually simple split can still trap an undercut.