Product designer
You have a form direction but need a tangible reference before spending time on detailed geometry.
Generate several visual directions and use the strongest one to guide the next design review.
Explore a design directionDigital mold workspace
A 3d mold maker online gives you a focused way to turn a written idea into a mold concept, inspect the result, and decide what should happen next.
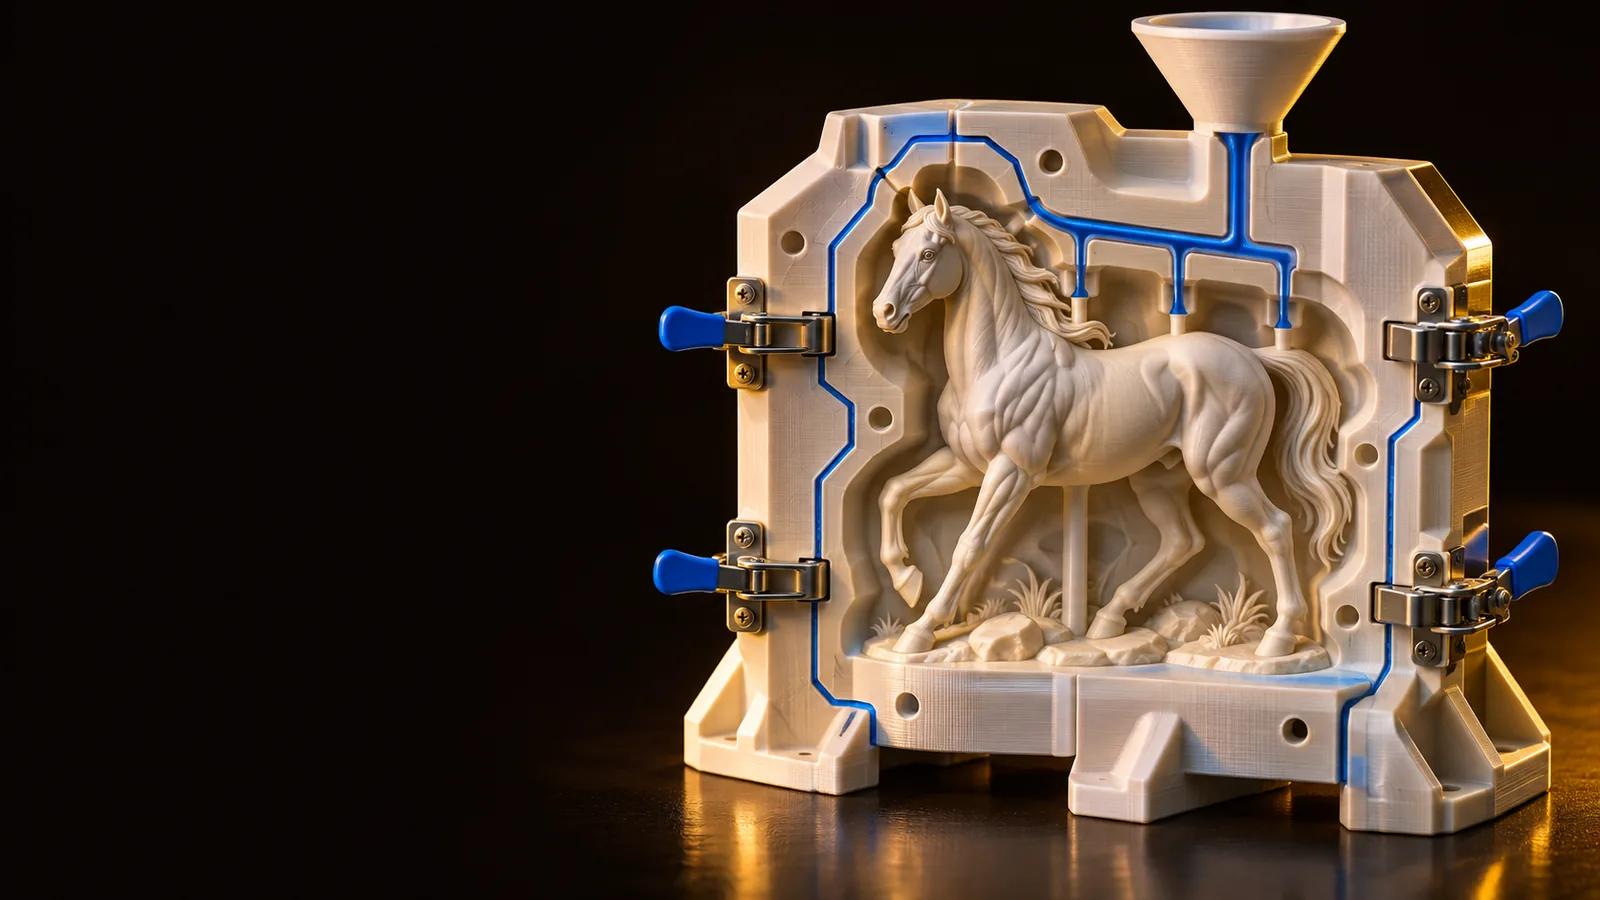
An online workflow is most useful when it helps you communicate the form, inspect important details, and prepare a better starting point for design work.
Online mold workspace
Traditional first pass
Online mold workspace
A written description of the object, mold, or casting goal
Traditional first pass
A sketch, physical sample, or detailed CAD brief
Online mold workspace
Quickly explore the overall shape and visual direction
Traditional first pass
Build the first representation manually
Online mold workspace
Adjust the description and compare new concepts
Traditional first pass
Edit geometry directly or revise drawings
Online mold workspace
Useful for concept communication, not a substitute for validation
Traditional first pass
Better suited to exact dimensions and engineering constraints
Online mold workspace
Early exploration, references, and design alignment
Traditional first pass
Production-ready tooling and verified manufacturing data
Online mold workspace
A clearer visual reference for the next design step
Traditional first pass
A directly editable model or drawing when properly prepared
The value is not only in producing a shape. It is in making the shape easier to discuss, revise, and evaluate before detailed mold development.
You have a form direction but need a tangible reference before spending time on detailed geometry.
Generate several visual directions and use the strongest one to guide the next design review.
Explore a design directionYou want to test whether a container, ornament, or sculptural object could become a mold concept.
Turn a plain-language idea into a visual starting point for discussion and refinement.
Test a mold ideaYou need to communicate a mold arrangement to a fabricator before requesting a technical version.
Share a clearer visual brief that separates the intended object from the mold-making questions.
Prepare a visual briefYou are explaining parting, cavities, or casting form without starting with complex modeling software.
Use an understandable concept image to support a lesson, critique, or project plan.
Build a teaching exampleKeep the first pass focused on the form and intended use. Technical decisions can follow once the concept is clear enough to inspect.
Mention the object, approximate character, intended casting context, and any visible details that matter to the concept.
Review the silhouette, surface detail, likely separation areas, and whether the result communicates the idea you intended.
Add or remove details, clarify the mold arrangement, and keep the strongest reference for later design or fabrication work.
An online concept is a starting point. Treat the following checks as part of the handoff rather than assuming the first visual result is production-ready.
State the intended object and casting purpose clearly
RequiredThis keeps the generated direction tied to a real use case.
Review undercuts, draft, seams, and release direction
RequiredThese decisions need human judgment and may require a technical model.
Confirm dimensions with a measured reference
RequiredVisual proportions alone do not establish manufacturing dimensions.
Choose the final mold material and process
RequiredSilicone, printed tooling, and rigid mold systems have different requirements.
Prepare a sketch or reference image
OptionalAn additional reference can make a complex shape easier to explain.
A strong visual reference should help you discuss both the intended form and the questions that remain before detailed mold design begins.
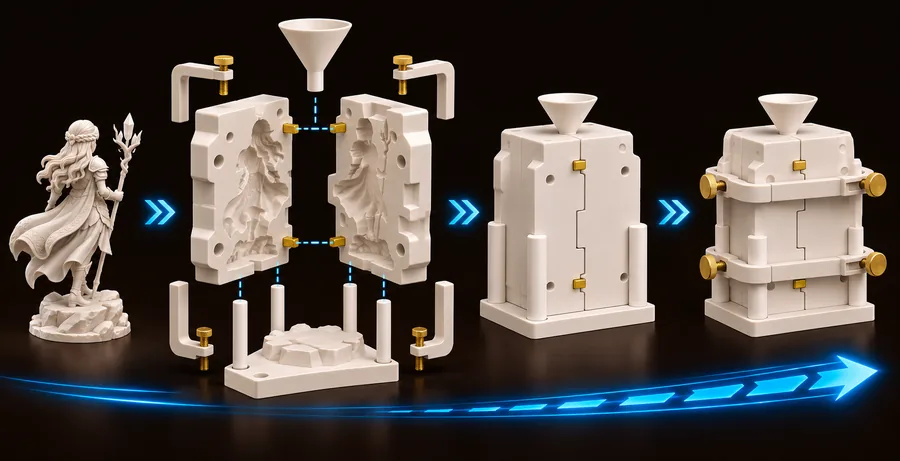 Concept review
1
Use the first concept to judge silhouette, proportion, and the visual relationship between the object and its cavity. This is where an online tool is most helpful: it gives a team something concrete to critique before technical decisions harden.
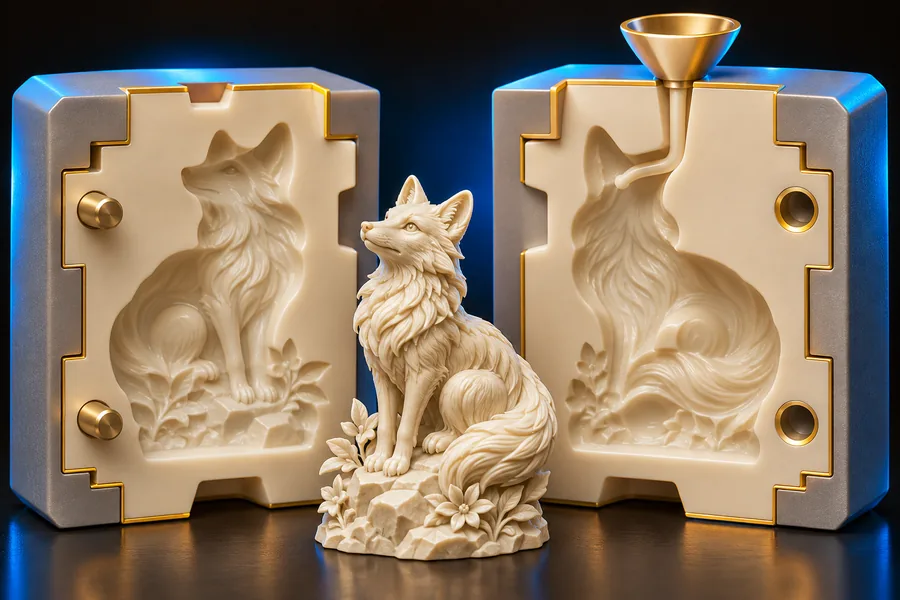 Handoff planning
2
Once the form is understood, look at how a two-part or sectional arrangement might be communicated. The image is not a guarantee of manufacturability, but it can expose questions about seams, access, release, and the next modeling step.
Describe the form you have in mind, review the resulting concept, and use it to organize the technical questions that follow. Start with the visual direction, then validate every manufacturing decision separately.
Create a mold conceptIt is an online workspace that helps you explore a mold or casting concept from a written description. The result is best treated as a visual starting point for review, refinement, and later technical development.
You can begin with a plain-language description rather than a fully built CAD model. You should still involve an experienced designer or fabricator when dimensions, tolerances, draft, parting, or material behavior affect the final mold.
An online concept can help communicate the form, but it does not by itself confirm manufacturability. Check dimensions, undercuts, release direction, material choice, and the final fabrication process before production.
Name the object, describe its shape and important surface details, and explain the intended casting or molding context. If you already know the approximate size, parting preference, or material, include those details as references rather than assumptions.
It can be useful for visualizing a silicone mold direction and discussing the object, cavity, and possible separation. Silicone selection, wall thickness, undercuts, release behavior, and pouring details still need a separate practical review.