3DMOLDMAKER

Jewelry mold design

Design better 3d printed casting molds for jewelry

Create clearer mold concepts for rings, pendants, charms, and small sculptural pieces. Describe the form, split logic, and casting needs, then hand the prompt to the studio.

Prompt handoff to the studio
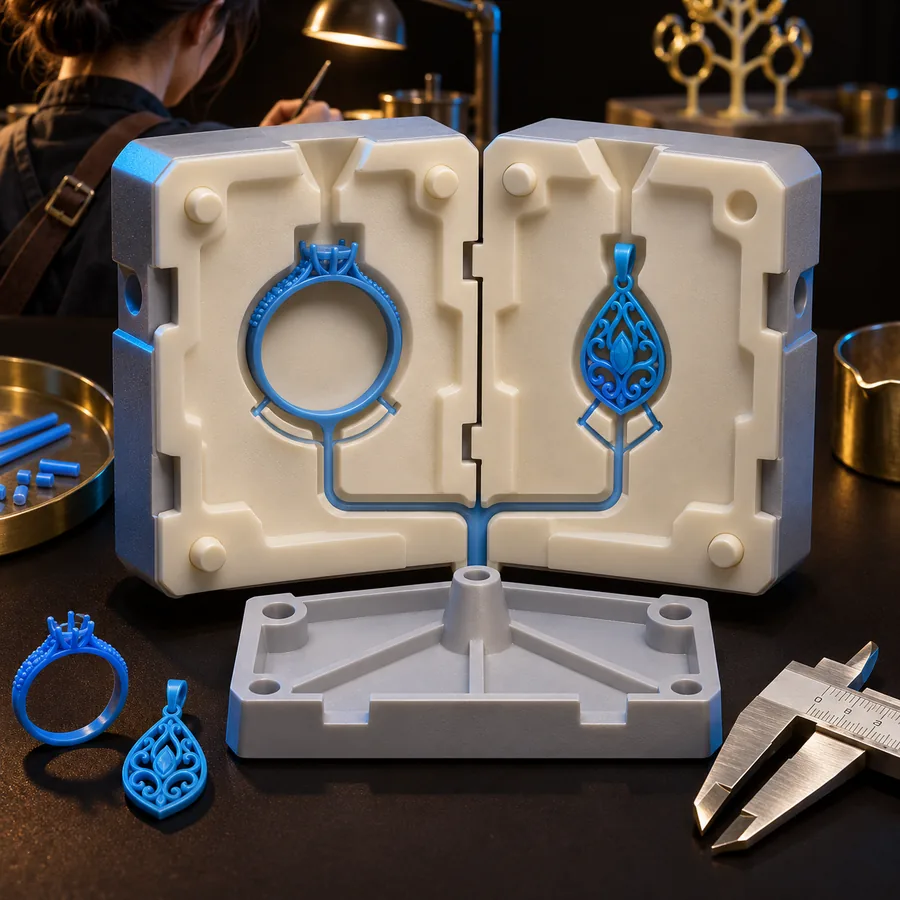
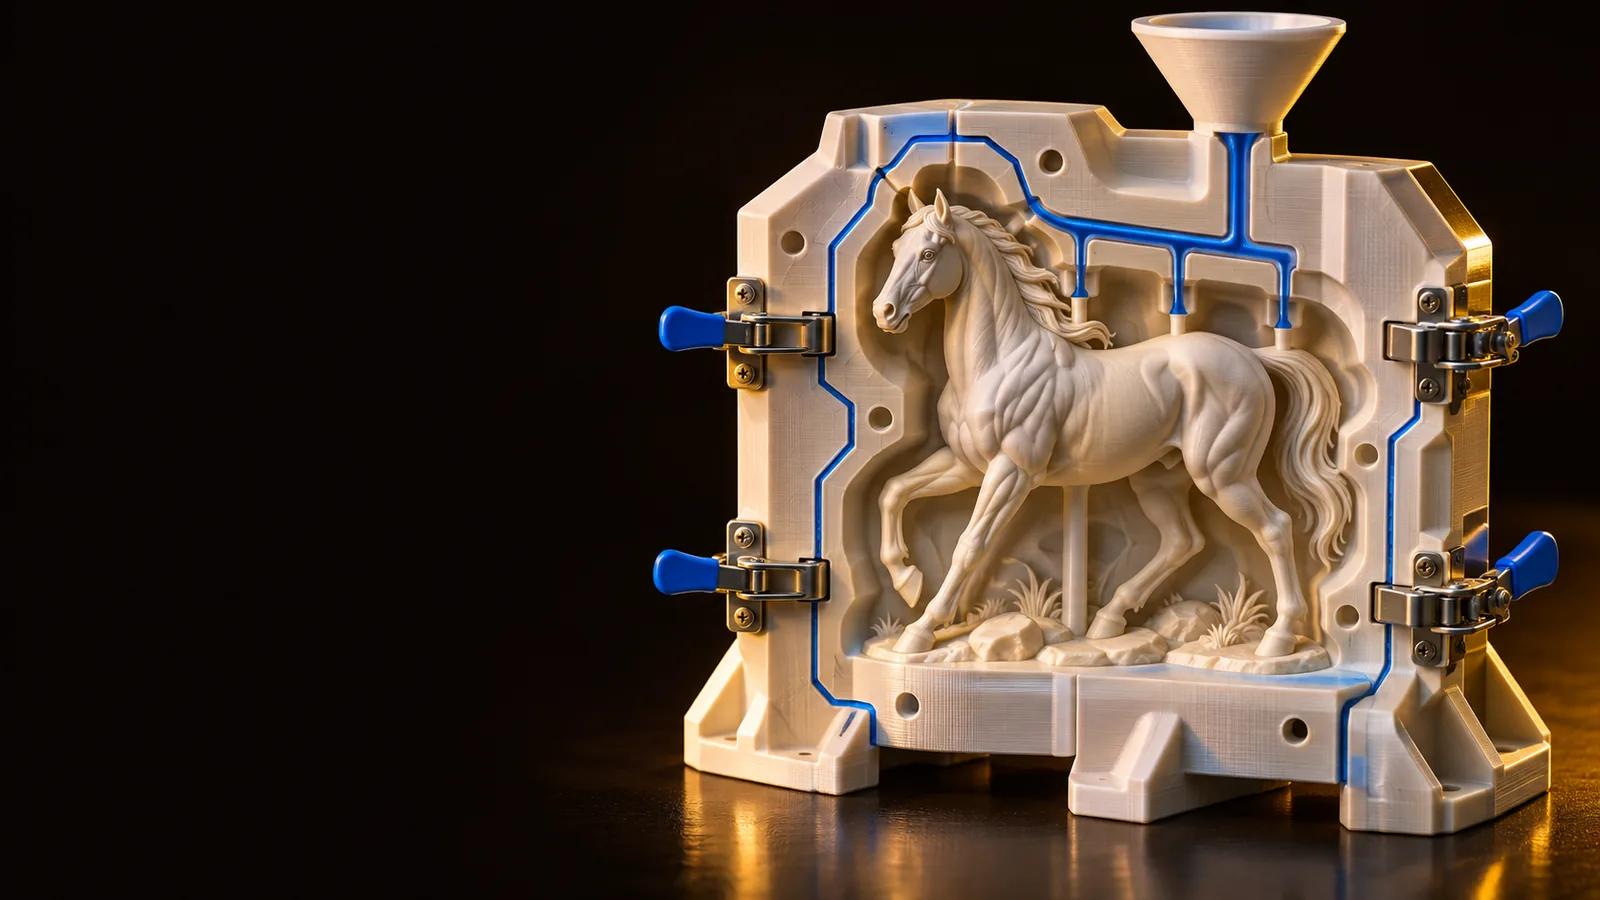
3D jewelry mold concept shown as a framed studio render

The jewelry mold problem

Jewelry forms are small, detailed, and unforgiving. A useful concept must show the cavity, parting line, alignment, and casting path before you spend time preparing a print.

Jewelry designer

You have a ring or pendant concept but cannot quickly picture how the mold should separate around its details.

Generate a visual starting point that makes the cavity, split direction, and likely undercuts easier to discuss.

Shape a jewelry mold concept
Resin artisan

You need a repeatable form for charms, beads, or small decorative pieces and want to compare several cavity arrangements.

Explore alternate mold layouts before selecting one for cleanup, testing, and material review.

Compare cavity layouts

Wax model maker

A delicate sculpt needs a practical casting path without losing surface character or fine relief.

Use a prompt-led concept to inspect sprue placement, seam visibility, and the balance between detail and release.

Plan a release-friendly form

Jewelry educator

Students need to see how a finished object becomes a mold assembly rather than only receiving a finished mesh.

Turn a verbal brief into a concrete reference for explaining split bodies, keys, vents, and finishing steps.

Build a teaching reference

Three concrete workflows

These prompt-led examples show how to start with a jewelry brief and ask for a mold concept with a visible casting logic.

  • Small sculptural jewelry mold concept with a separated cavity Pendant 1
    prompt Create a two-part mold for a small oval pendant with a raised botanical relief, centered sprue, alignment keys, and a clean vertical parting line.
    Mold concept Pendant · two-part assembly
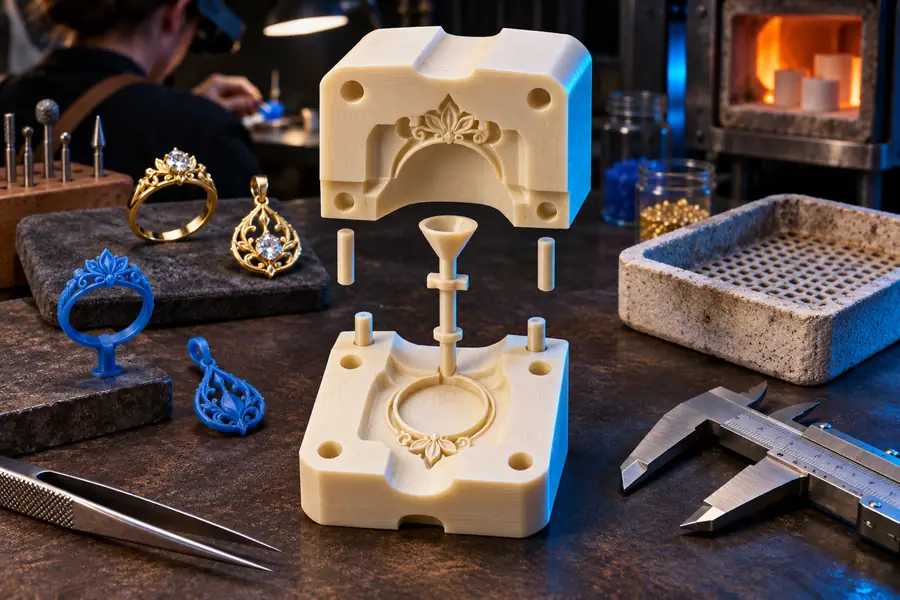
  • Detailed ring casting mold concept with an inner cavity Ring 2
    prompt Design a compact ring mold with a smooth circular cavity, side sprue, two alignment pins, and enough clearance to release a fine engraved band.
    Mold concept Ring · release-focused layout
  • Decorative jewelry casting form with a visible split and channels Charm 3
    prompt Show a reusable mold for a small sculpted charm, with a visible split seam, short pour channel, shallow vent, and separated mold halves.
    Mold concept Charm · reusable form

Keep the object, split direction, casting path, and surface detail in the same prompt; change one variable at a time.

Example output

Move from an idea to a reviewable mold plan in three practical passes. Each pass keeps the jewelry scale and casting purpose visible.

  • Design
  • Inspect
  • Prepare
  • Generated jewelry mold design concept
    01Verified

    Describe the jewelry form

    Start with the object type, approximate scale, relief depth, and the finish you want to preserve. Name the casting material only when it changes the required clearance or surface treatment.

    1. Name the jewelry piece and its key details
    2. State the desired mold split
    3. Ask for a clear cavity view
    Draft a mold brief
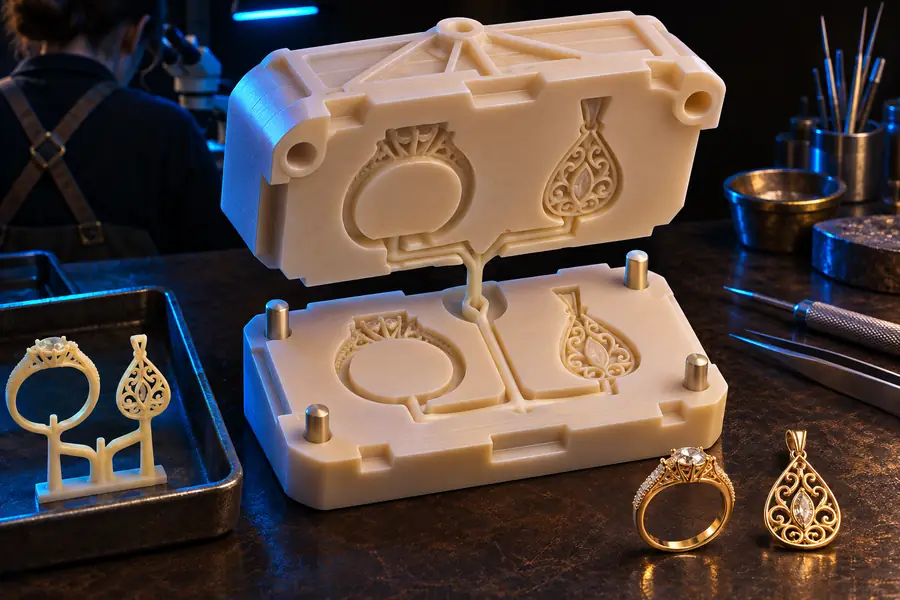
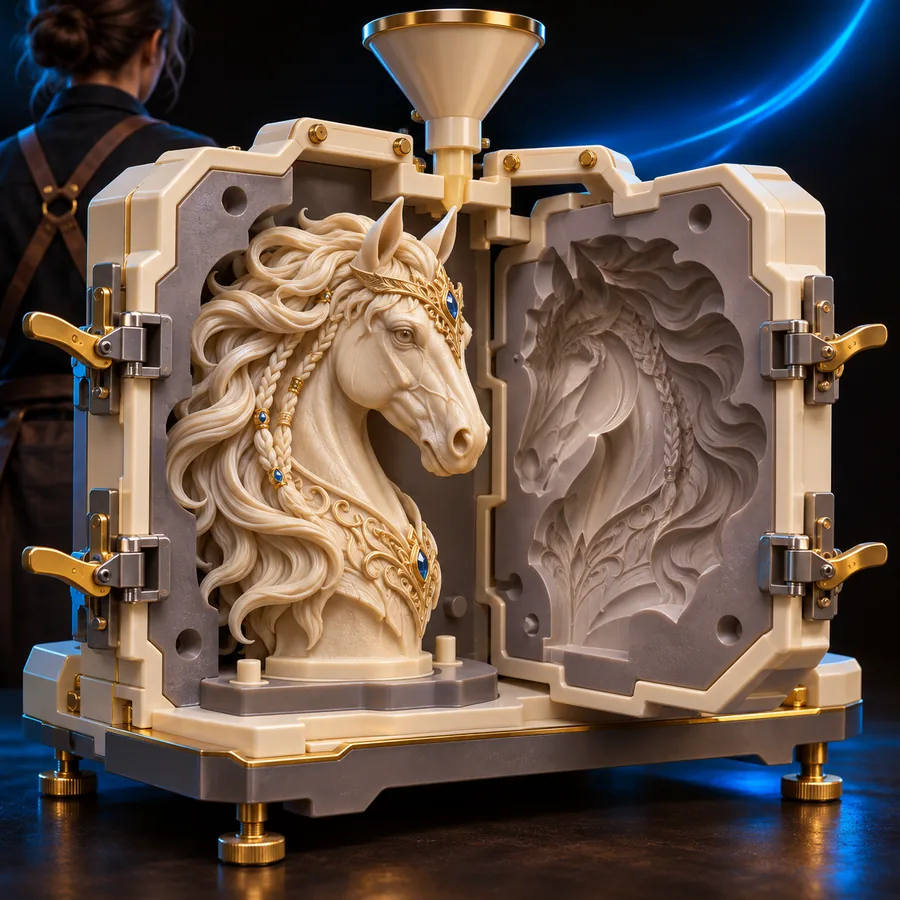
  • Separated mold assembly for a small jewelry form
    02Verified

    Inspect the assembly logic

    Ask for separated halves, alignment features, sprue placement, and any likely undercuts. The result is a visual review aid, not proof that the form is ready to manufacture.

    1. Review the parting line
    2. Check cavity access and release
    3. Mark areas needing CAD revision
    Review the mold assembly
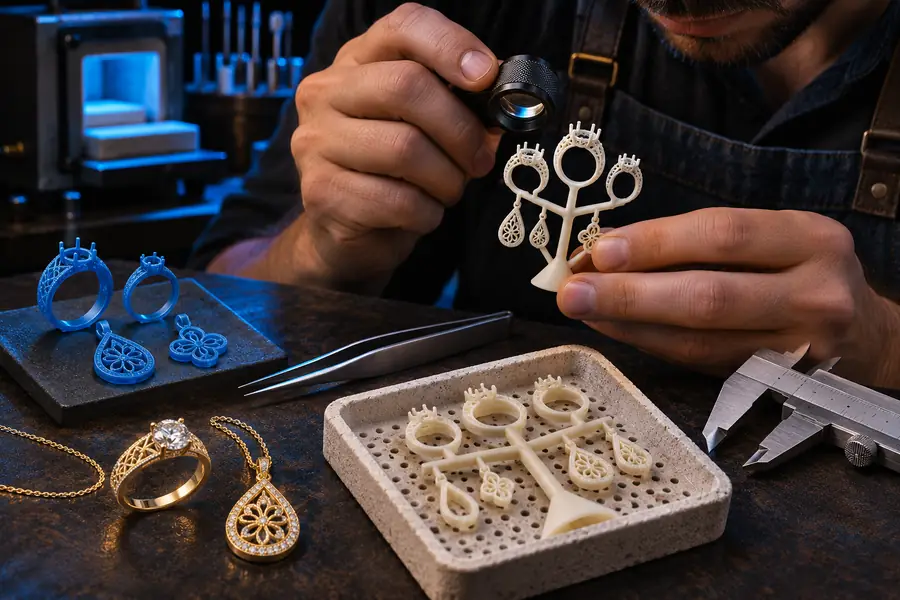
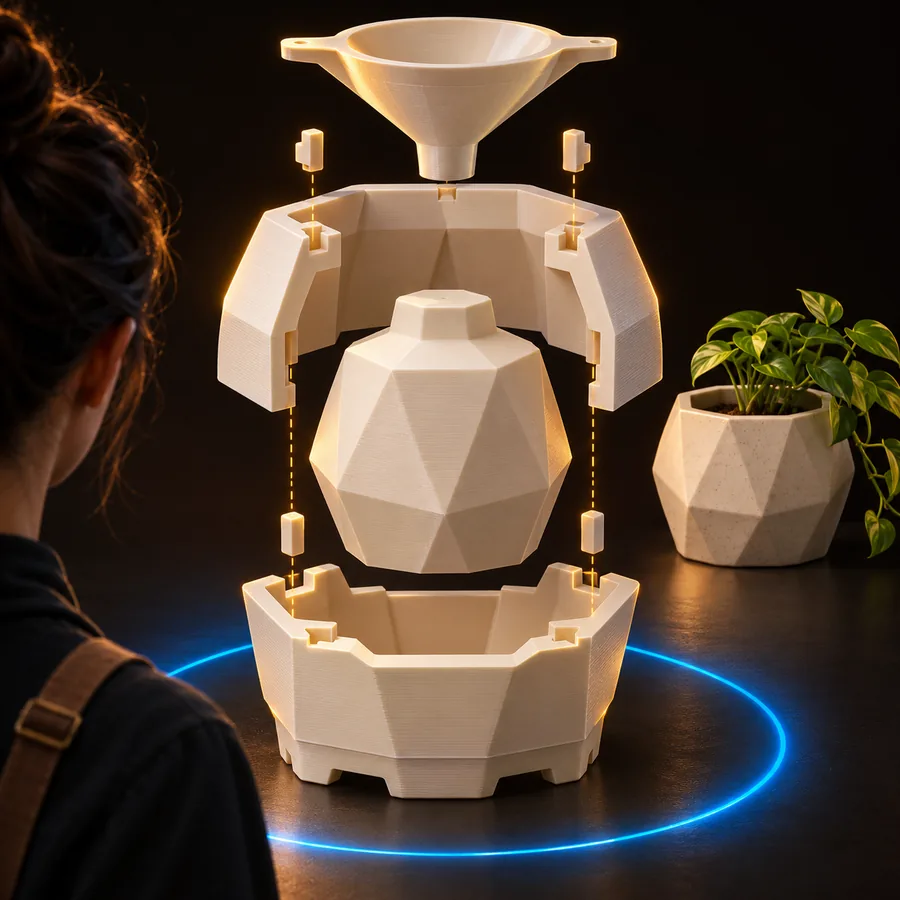
  • Jewelry mold workflow showing a concept moving toward production
    03Verified

    Prepare the next handoff

    Use the concept to brief a CAD workflow, printer, or mold-making process. Record dimensions and tolerances separately because the generated image does not establish production geometry.

    1. Confirm dimensions in CAD
    2. Choose a suitable print or tooling process
    3. Test and refine the first physical result
    Prepare the next handoff

Plan the mold footprint

Use this lightweight planning estimate to compare how a wider jewelry mold may affect material allowance and review time. It is not a production quote or engineering calculation.

Estimated footprint

cm²

Planning material cost

units

Review time saved

min

Compliance notes

A generated mold concept can support exploration, but it does not replace material checks, dimensional verification, or safe workshop practice.

  • Not production-ready geometry

    The visual result does not guarantee wall thickness, tolerances, watertightness, or a printable mesh.

    WorkaroundRebuild or verify the design in CAD, then run the checks required by your printer and casting process.

  • Not a material safety certification

    A concept does not confirm that a resin, silicone, wax, release agent, or printed material is suitable for skin contact or a specific casting medium.

    WorkaroundCheck the supplier documentation and use the material only for the application it explicitly supports.

  • Not a guarantee of clean release

    Fine prongs, deep relief, enclosed cavities, and undercuts may still trap material or damage a delicate casting.

    WorkaroundReview draft, split the mold where needed, add vents or sprues, and test with a small sample.

  • Not a substitute for jewelry tolerances

    A rendered ring or pendant can look precise while omitting the dimensional details needed for fit, stone setting, or assembly.

    WorkaroundSet the required dimensions in a measured model and inspect the finished print or tool before casting.

How the handoff works

Keep the process simple: describe the piece, inspect the mold logic, and verify the design before making a physical tool.

  1. 1

    Describe

    State the jewelry type, important surface details, approximate scale, and the casting result you want.

  2. 2

    Inspect

    Review the cavity, split line, alignment features, sprue, vents, and possible release problems.

  3. 3

    Verify

    Transfer the useful concept into measured CAD and test the selected material and process before production.

What a useful review looks like

A practical result is not just a beautiful render; it is a clearer decision about what to model, test, or change next.

Ring prototype

Jewelry CAD artist

Independent studio workflow

“The split line is easier to discuss when the cavity and release direction are visible in the same concept.”

Review focus

Cavity + split

Pendant series

Small-batch jewelry maker

Prototype workflow

“Seeing several sprue and alignment options helps narrow the design before a physical test.”

Decision stage

Pre-print

Teaching model

Jewelry instructor

Classroom workflow

“The separated halves give students a concrete way to understand how the object becomes a casting tool.”

Teaching aid

3-part explanation

Turn a jewelry idea into a mold brief

Start with the object, the split logic, and the casting goal. Use the resulting concept to guide measured CAD, material selection, and a controlled test.

Generate mold concept
  • Describe rings, pendants, charms, or relief pieces
  • Review cavity and parting-line ideas
  • Keep production decisions in measured CAD

Scenario FAQ

Answers for planning 3D-printed mold concepts around small jewelry forms.

They are used to create or review mold concepts for small pieces such as rings, pendants, charms, and relief components. A generated concept can help you examine cavity shape, parting lines, sprues, vents, and alignment before choosing a physical process.

No. The concept is a visual starting point and does not guarantee printable geometry, correct tolerances, safe materials, or clean release. Move the useful design into measured CAD and validate it with the requirements of your printer, mold material, and casting medium.

Name the jewelry piece, its important details, the desired mold split, and the casting path. You can also request separated halves, alignment keys, sprues, vents, or a cross-section so the result is easier to inspect.

No single mold approach suits every material or process. Resin, wax, silicone, metal casting, and skin-contact applications have different requirements, so check supplier guidance and test a small sample before relying on a mold.

Explore 3D tools
Explore 3D tools